Add, Collect or Store Data in Data Lab
Learn how to add, collect or store data in Datalab.
Store Data in a Datalab
There are three ways you can add data to your Datalab.
1. Add Data Manually
Go to Datalab and choose the form you'd like to add data manually. For this tutorial, we choose the Order Form created for the previous lessons.
1. Now click on Insert New Data. You will find a pop-up of your form.
2. Fill up the form and click on Update.
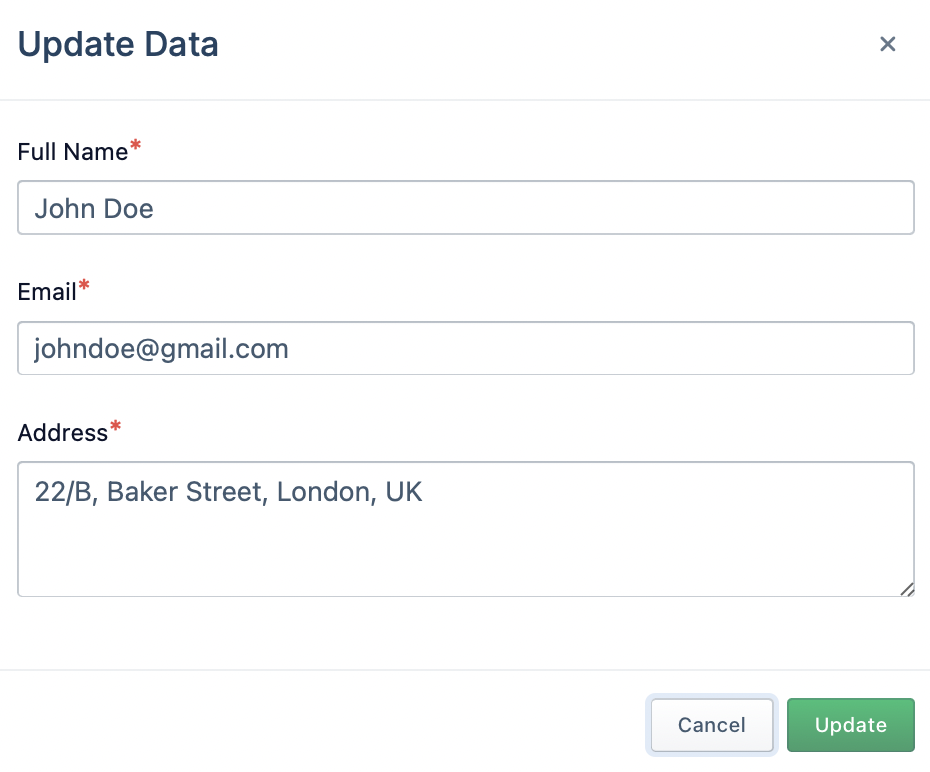
3. You should now have a new row in your Datalab.
2. Use Datalab Entry Block
Please refer to the Datalab Entry Block page to learn how to collect user information automatically using chatbots.
Datalab Entry Block3. Use Chatbots to Collect Data
You can use button blocks to redirect a user to a Datalab Form. Read more on creating custom sequences using Button Blocks on this page.
Button BlockLet's show you another example as well. Say you sell cakes and muffins on Facebook Messenger.
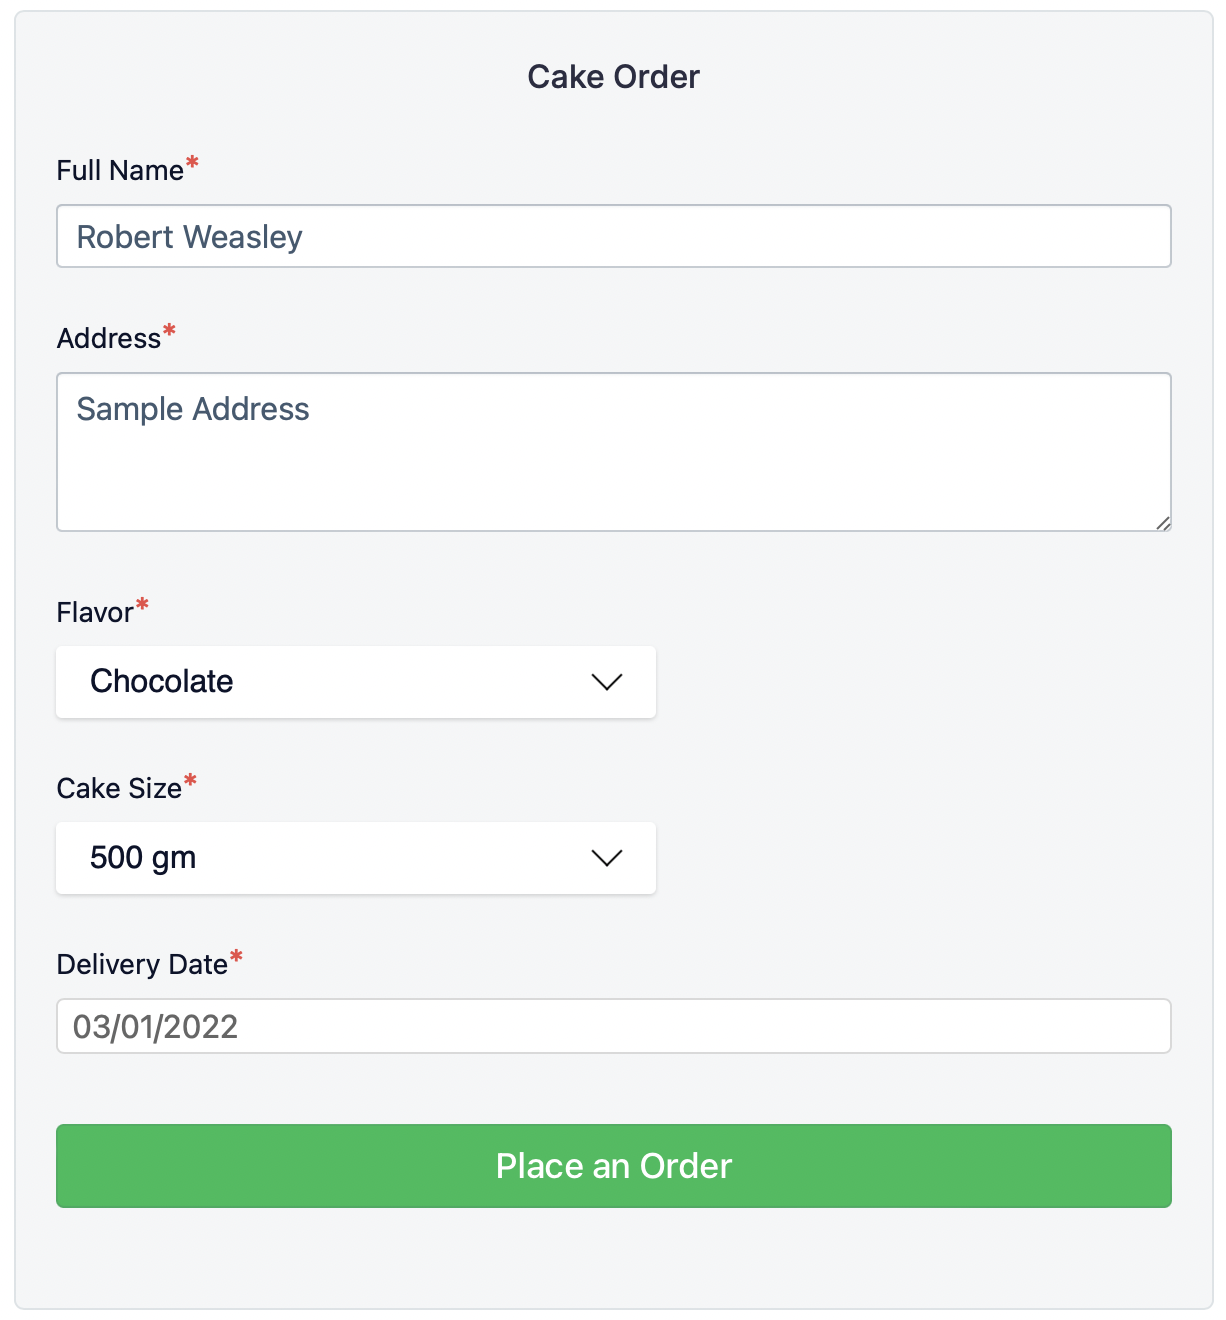
You need the following information from a customer to place an order.
Name (Text)
Address (Text Area)
Flavor (Single Select)
Cake Size (Single Select)
Delivery Date (Date)
We create a new Datalab sheet with the following fields and name it "Cake Orders."
Now, we create a sample welcome message and place the Redirect block to redirect users to a new sequence called Order Sequence.
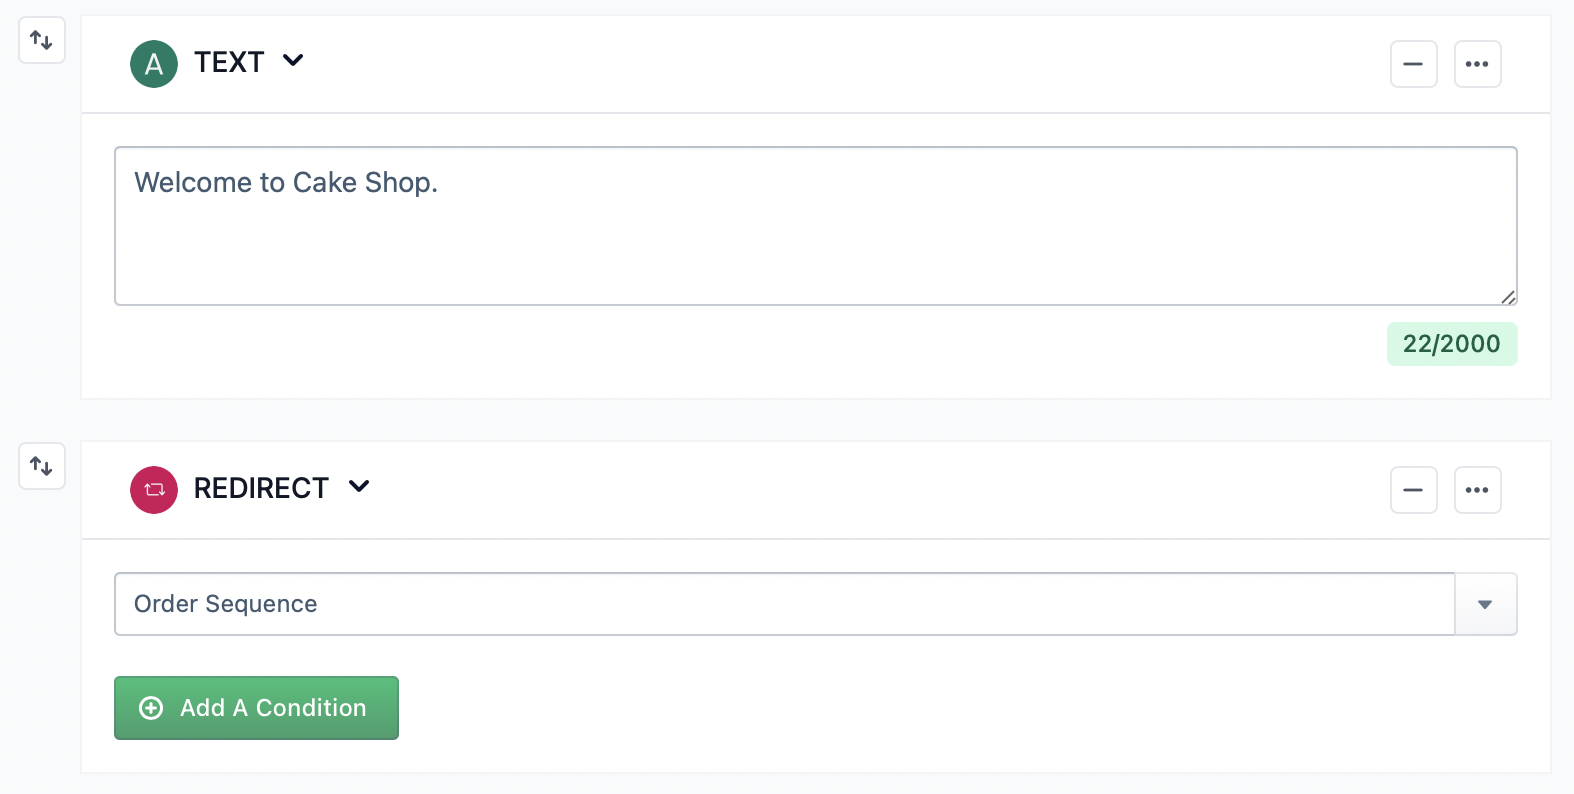
We also create a new sequence called Order Placed. Here, we place a simple text block and add a thank-you message if the user submits the form.
Now under the Order Sequence, we place a Button Block and type a message for the Button Block. For example: How can we help you today?
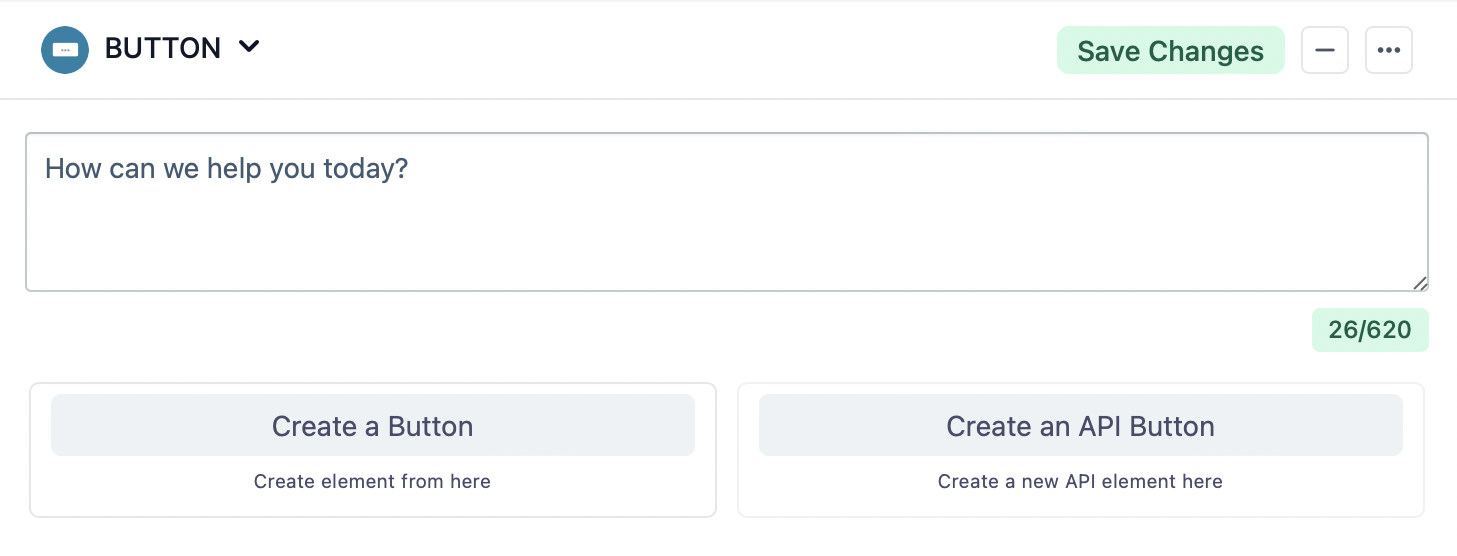
Now click on Create a Button. We name the button "Place an Order". If the user clicks on the button, they will be redirected to our newly created Datalab form called Cake Order. If the user submits, they will be redirected to the Order Placed Sequence.
You can also create other buttons too. But for this tutorial, we are focusing on placing orders via form only.
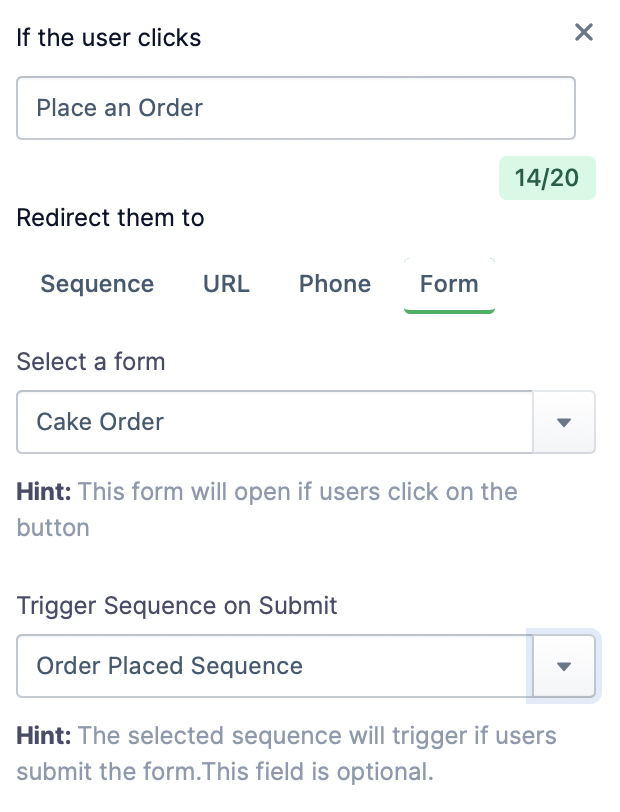
This is what the customer sees when they click on the order button.
To view this order, go to Datalab, choose the selected form and you will find all the entries.
