🪂Pabbly
Connect MyAlice with Pabbly to create Automations for your business.
The MyAlice<>Pabbly Integration is still in Private Beta. If you need access, please go to this link and login with your Pabbly account to get the access.
With Pabbly, you can build powerful automations with zero technical knowledge.
Currently we have 3 actions available for Pabbly:
Create a Customer in WhatsApp
Send a WhatsApp Template Message
Send a Text Message in any MyAlice Channel
Creating a Customer in WhatsApp with Pabbly
Sample scenarion:
Your customer has placed an order in your WooCommerce Store. You want to create a Customer in MyAlice WhatsApp to send a message.
Someone signed up from your lead generation form. You want to create a Customer in MyAlice WhatsApp to send a message.
Setting up:
Prerequisites:
Your Pabbly account.
MyAlice account with WhatsApp connected.
Step 1: Create a trigger from your Application/CRM
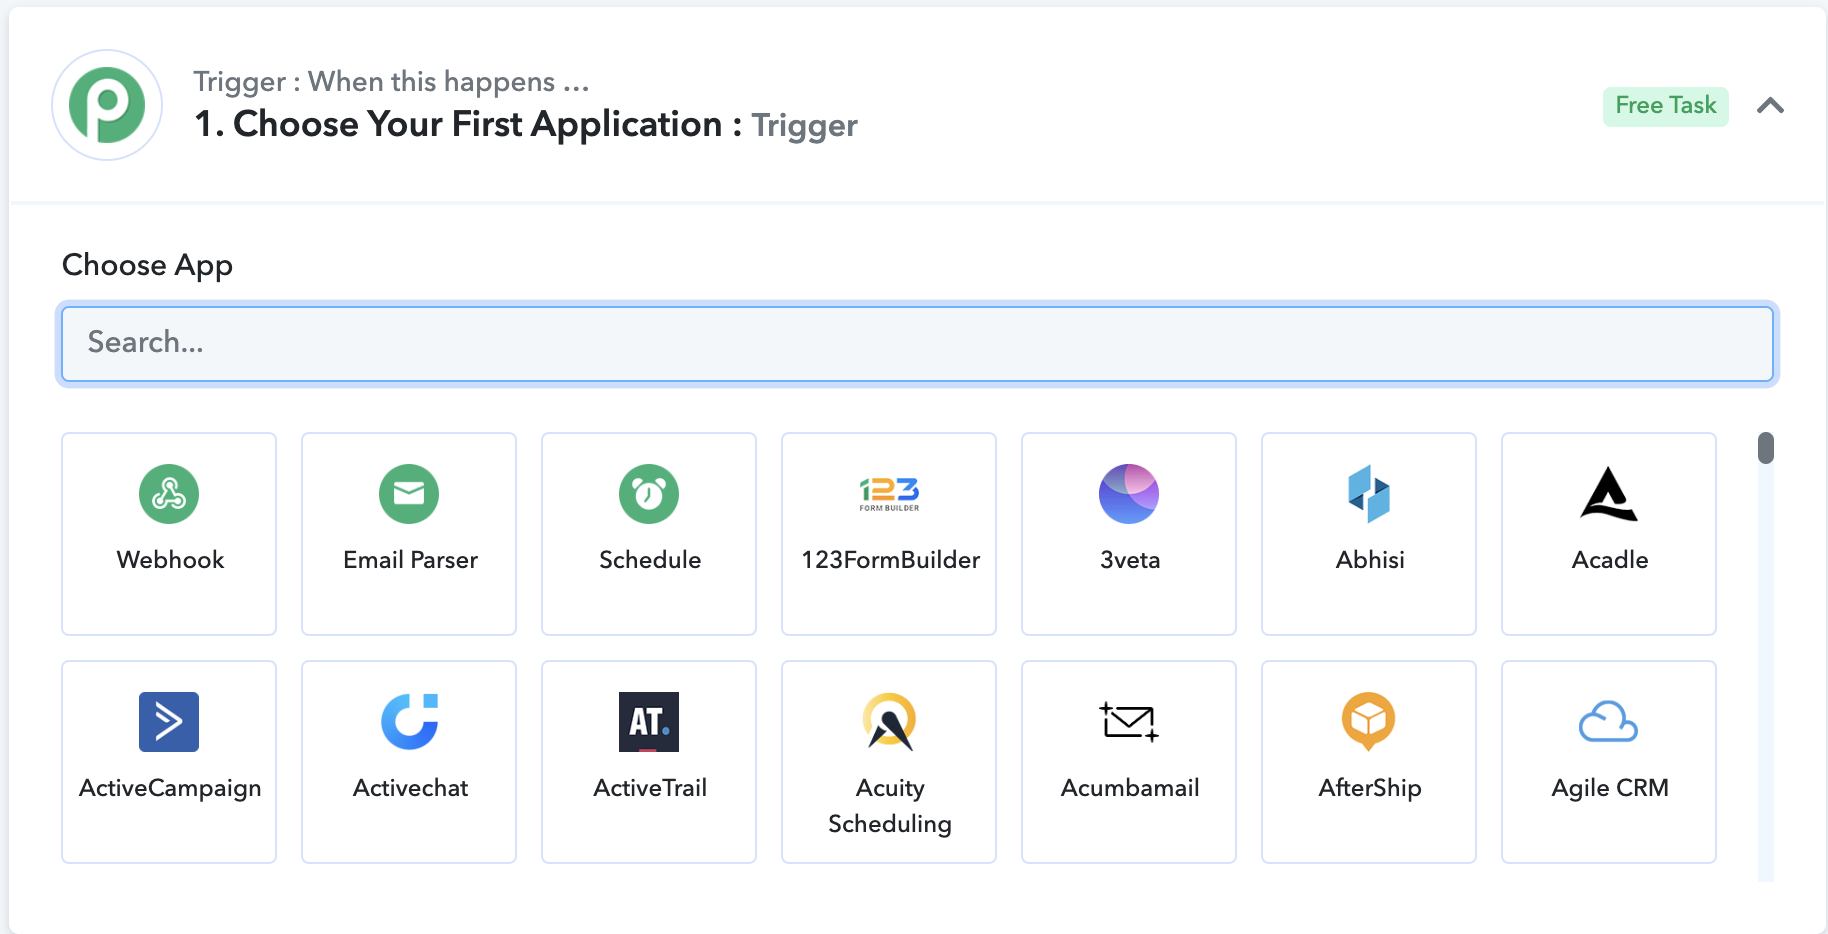
Select your First Application to start the trigger. It can be from Webhook or any external application / CRM you use. Note that, to create a Customer in MyAlice WhatsApp, you need a phone number in the data received from the trigger.
Step 2: Create a Customer in WhatsApp
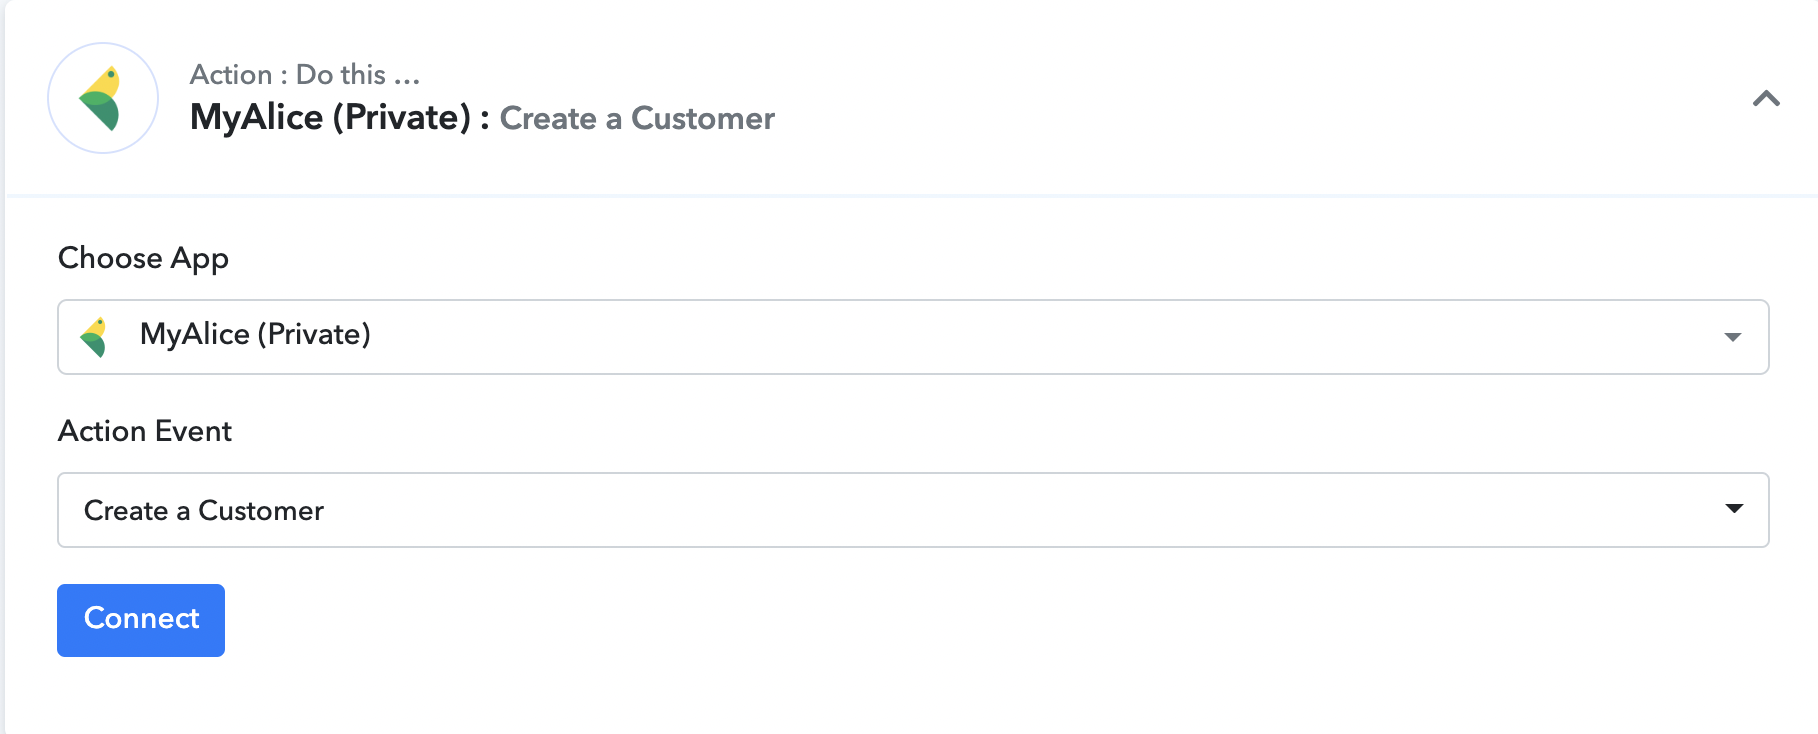
Choose MyAlice as your next app (or any stage that fits to your automation use case). Select "Create a Customer" event and Connect with your MyAlice account with your MyAlice API Key.
You can get your MyAlice API key by going to Settings -> Team Information.
Once you're connected to MyAlice, you can create a customer in WhatsApp by mapping values from your trigger.
Send a WhatsApp Template Message
Sample scenarion:
Your customer has abandoned a cart in Shopify. You want to send a message to his/her WhatsApp with discount offer to complete the purchase.
Someone signed up from your ads. You want to send him/her a WhatsApp message to welcome.
Setting up:
Prerequisites:
Your Pabbly account.
MyAlice account with WhatsApp connected.
Approved WhatsApp Template.
Step 1: Create a trigger from your Application/CRM
Select your First Application to start the trigger. It can be from Webhook or any external application / CRM you use. Note that, to create a Customer in MyAlice WhatsApp, you need a phone number in the data received from the trigger.
Step 2: Create a Customer in WhatsApp (Optional)
Choose MyAlice as your next app (or any stage that fits to your automation use case). Select "Create a Customer" event and Connect with your MyAlice account with your MyAlice API Key.
Once you're connected to MyAlice, you can create a customer in WhatsApp by mapping values from your trigger. This part is optional, but if you create a customer you will be able to set up customer's First Name, Last Name.
Step 3: Send a WhatsApp Template Message
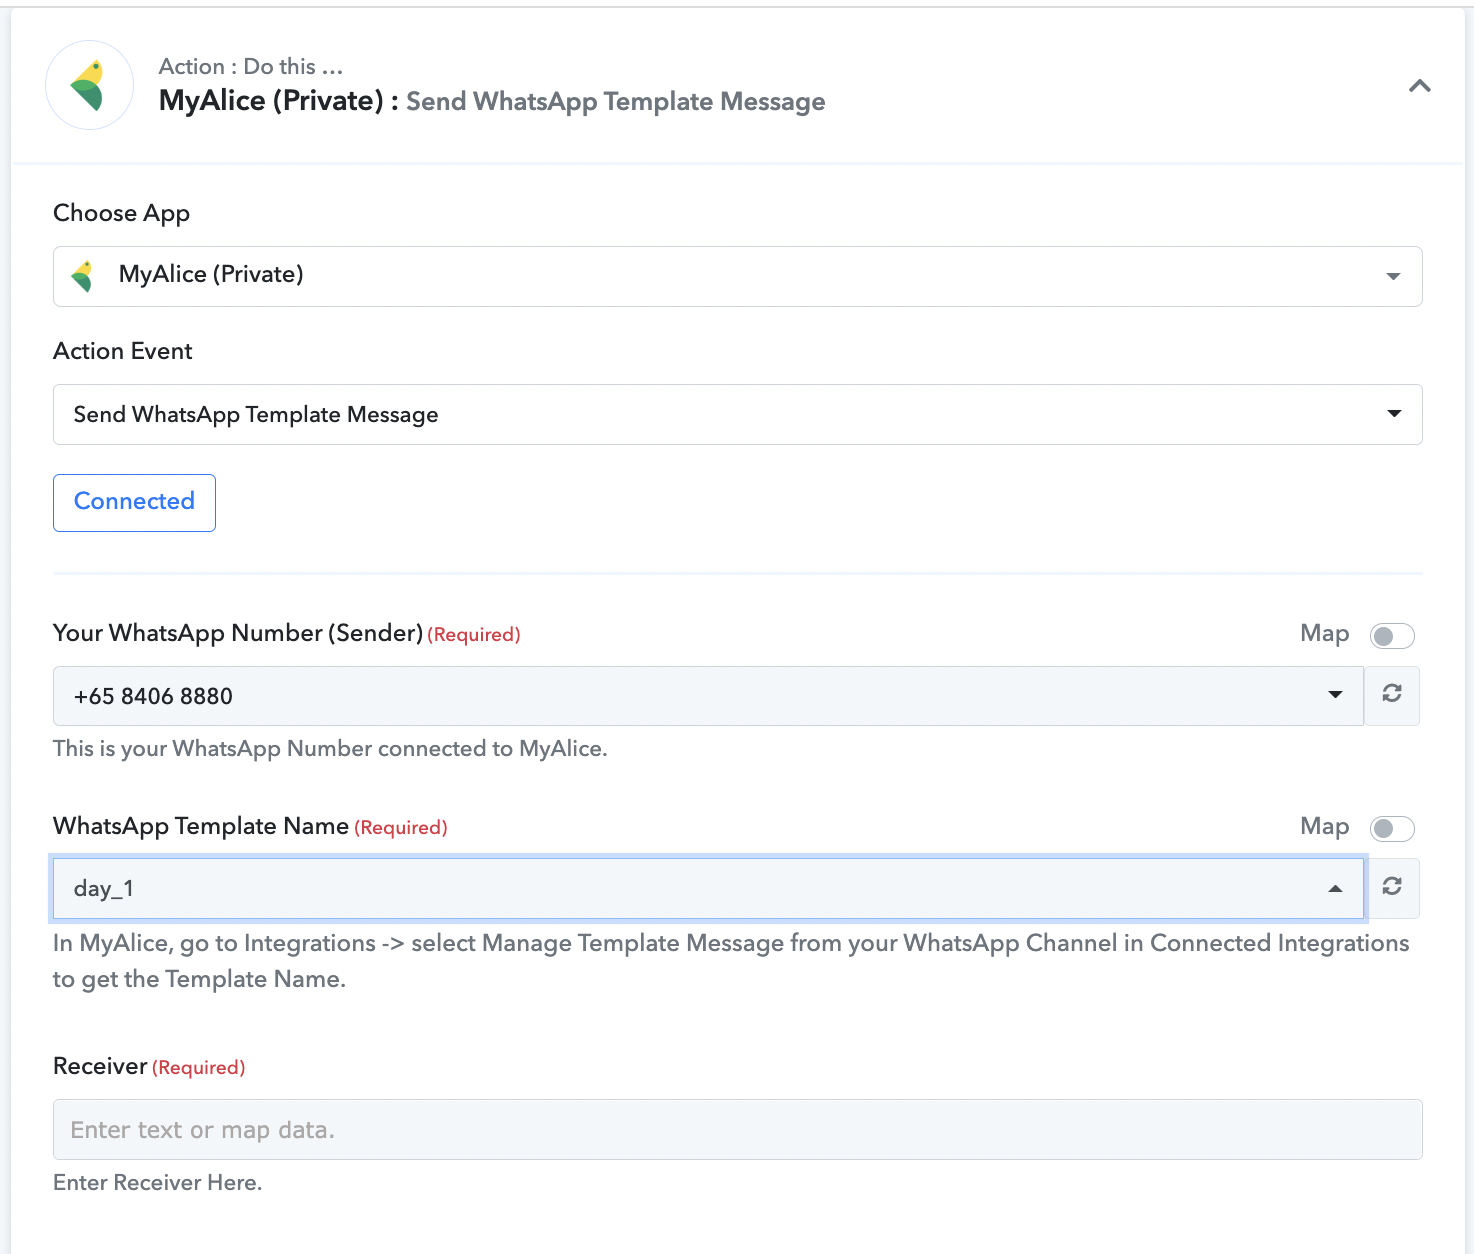
Choose MyAlice as your next app (or any stage that fits to your automation use case). Select "Send WhatsApp Template Message" event and Connect with your MyAlice account with your MyAlice API Key.
Once connected, you can select your WhatsApp Number from the dropdown list. Once you select your WhatsApp Number, you will be able to select the verified WhatsApp Template message as well. Finally, add the Customer's WhatsApp Number from data retrieved from triggers/your app.
That's it! If the customer's number is a valid WhatsApp Number, s/he will receive the WhatsApp template message once the Workflow is triggered! 🎉
Send a Message (any MyAlice channel)
Sample scenarion:
Your customer has provided their email address in any channel in MyAlice. You want to get additional data from your CRM with that email and send a message to that customer.
Setting up:
Prerequisites:
Your Pabbly account.
MyAlice account with any channel connected.
The customer has to be connected with any MyAlice channel. MyAlice UID of the Customer will be needed (it can be received with API block in MyAlice)
Step 1: Create a Webhook trigger
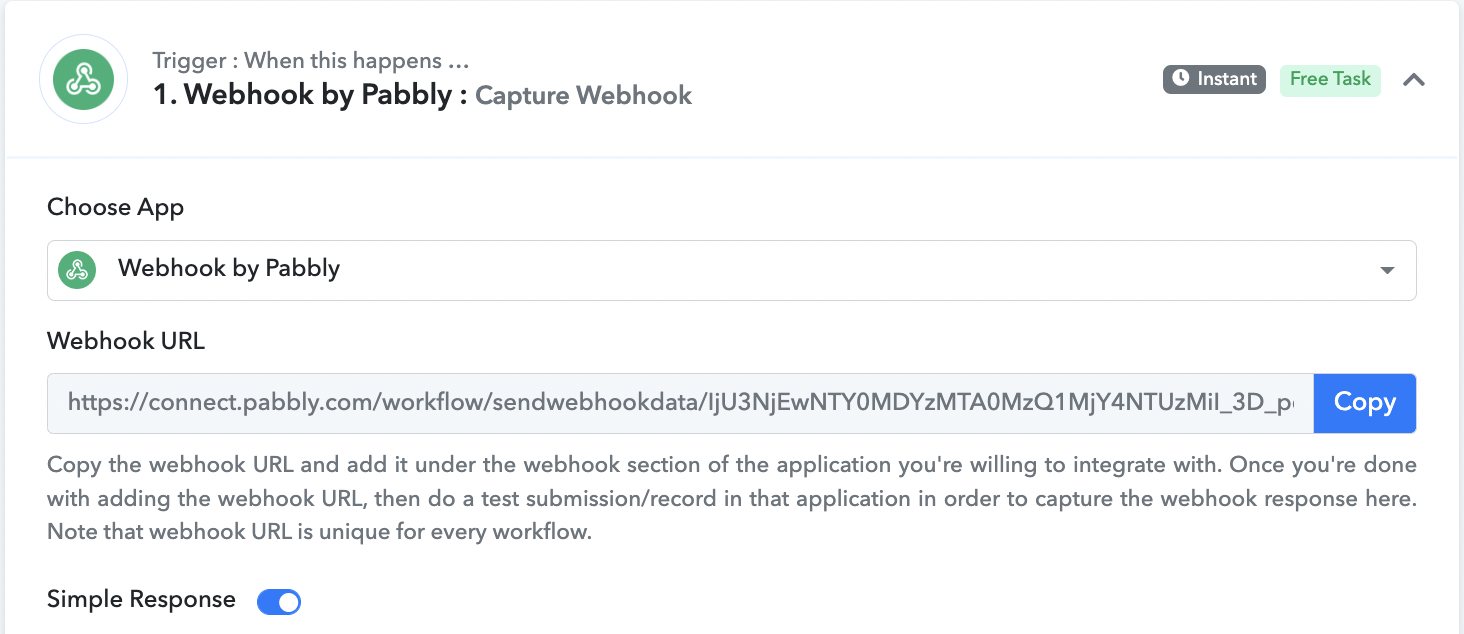
Select Webhook by Pabbly. Copy the generated webhook link.
Step 2: Create an API in MyAlice
Go back to your MyAlice account and create an API in MyAlice from the API tab.
Create a POST request with Pabbly webhook URL.
Use it as text block [You will find this option below in the API details, after header & body]
Step 3: Trigger a text block with the API
In your preferred automation sequence, create a text block with the API call.
Type << in a text block to select the API.
Step 4: Trigger the API to generate Pabbly webhook data
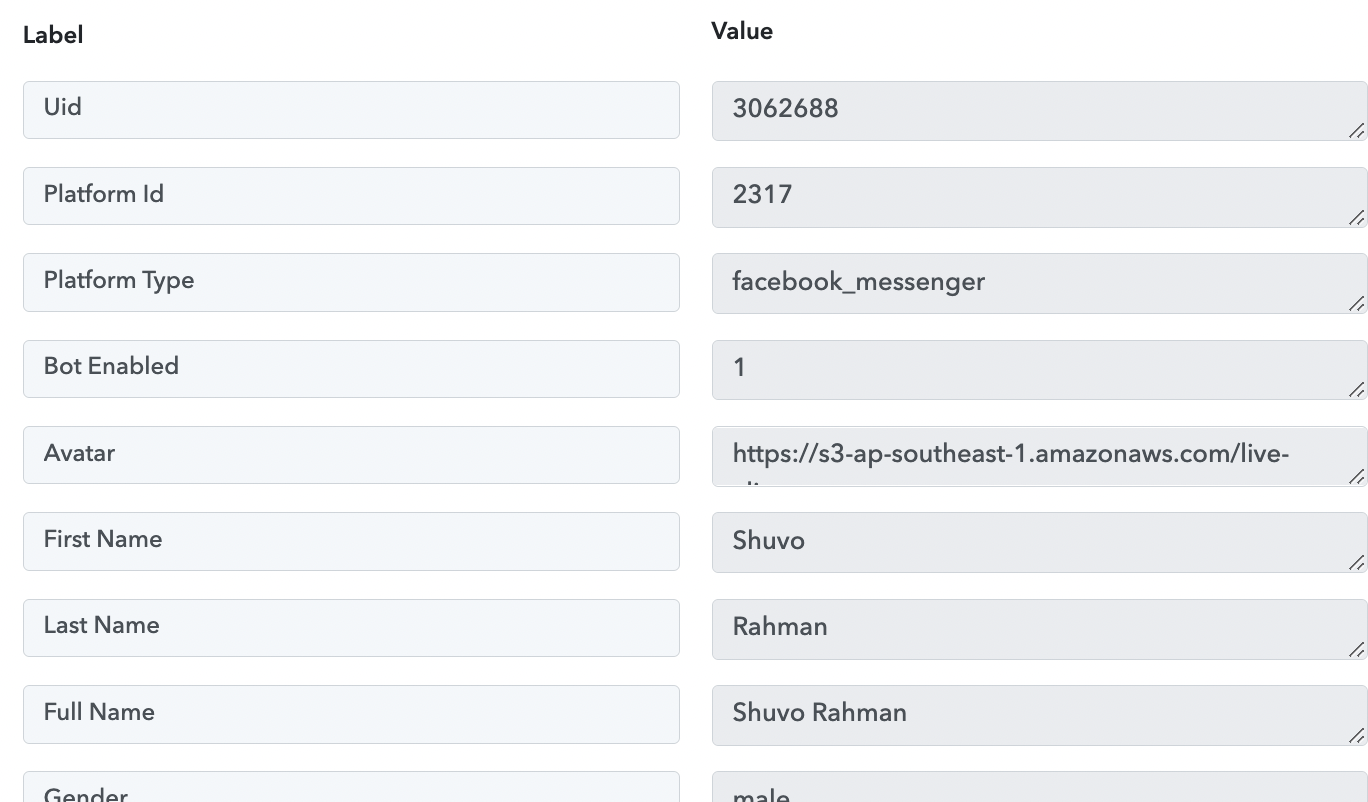
Trigger the sequence to generate webhook data in Pabbly for further mapping. Once you generate the data, you will see there is a datapoint named "Uid" which will be needed to send the text message.
Step 5: Send a Message to the Customer
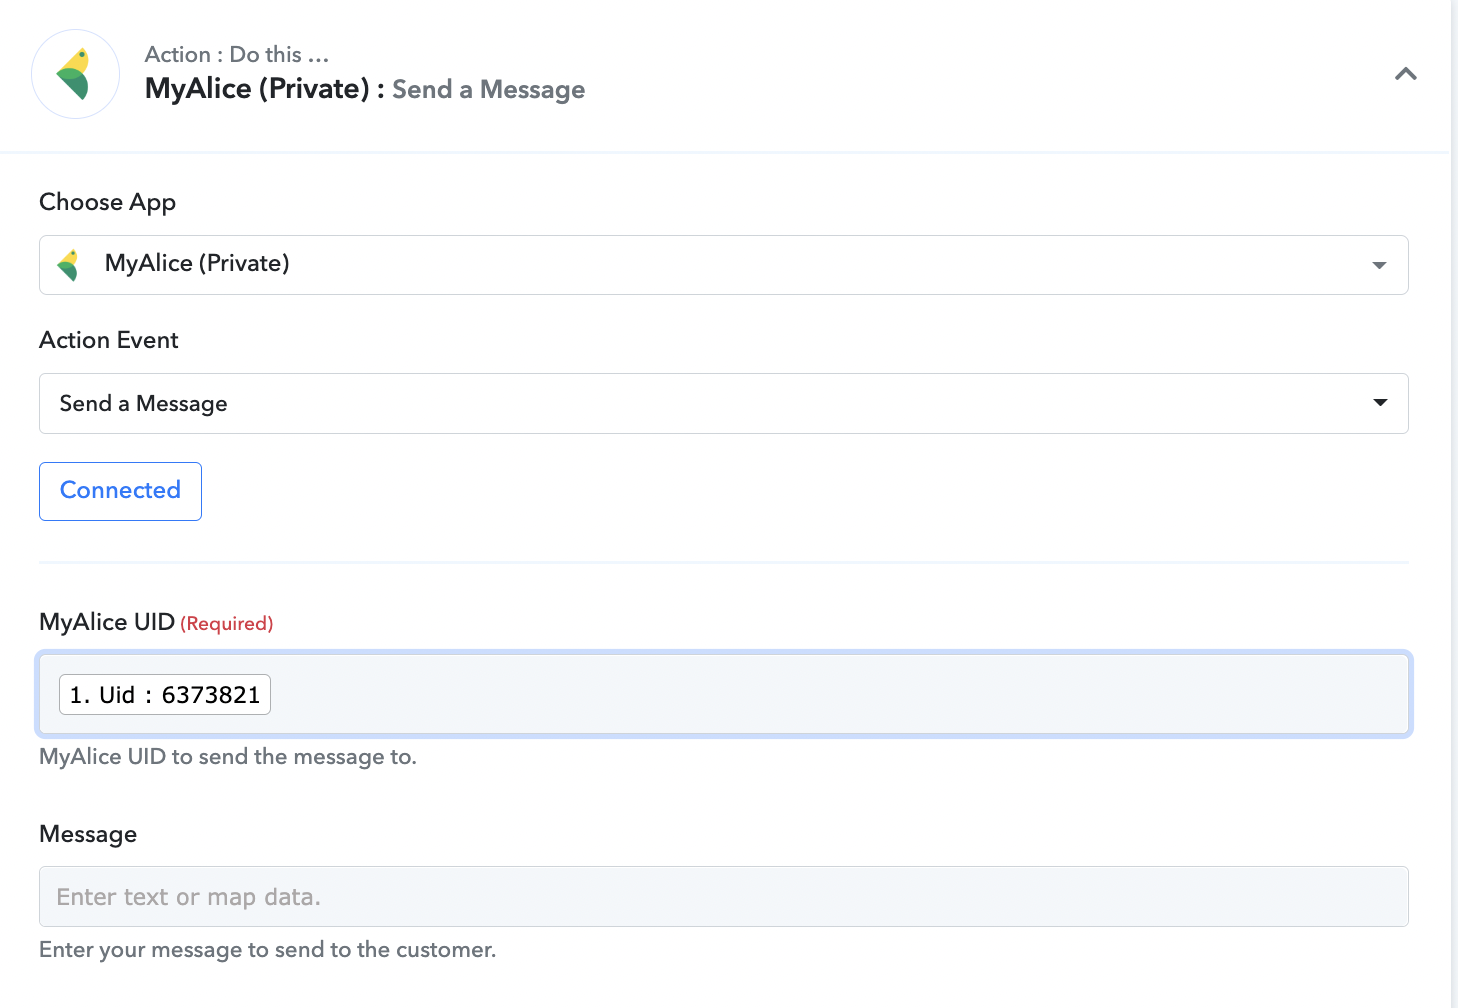
Choose MyAlice as your next app (or any stage that fits to your automation use case). Select "Send a Message" event and Connect with your MyAlice account with your MyAlice API Key.
Once connected, you can select the MyAlice UID from generated webhook data. You can also populate the message with data from your CRM / other application. Once done, you can send the message to the customer!